Co-Pilot Manual v1.0
Welcome aboard!
In Emergency Landing, the Pilot sits inside the cockpit, staring at a bunch of screens filled with puzzles they have no idea how to solve. Luckily, the Co-Pilot (that's you!) has the manual. Every rule, every step, every strange little detail... except you can't see the cockpit.
Remember:
✔ Pilot = Sees everything but knows nothing
✔ Co-Pilot = Knows everything but sees nothing
Your mission is simple: Say the right things, at the right time, in the right order... and try not to panic.
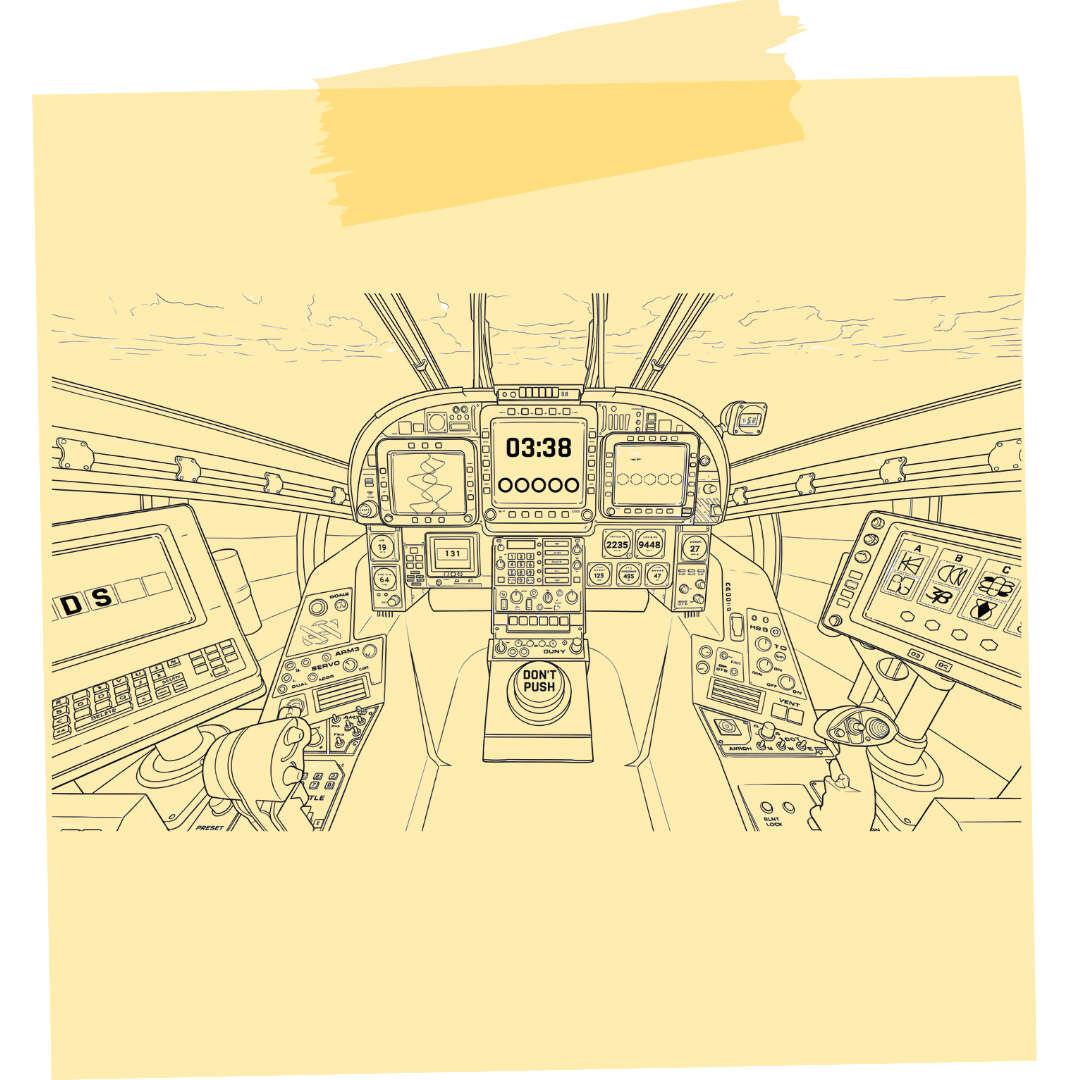
Each level can throw up to 10 puzzles at you, sometimes at the same time. Don't worry, they don't interact with each other; each one is its own little problem.
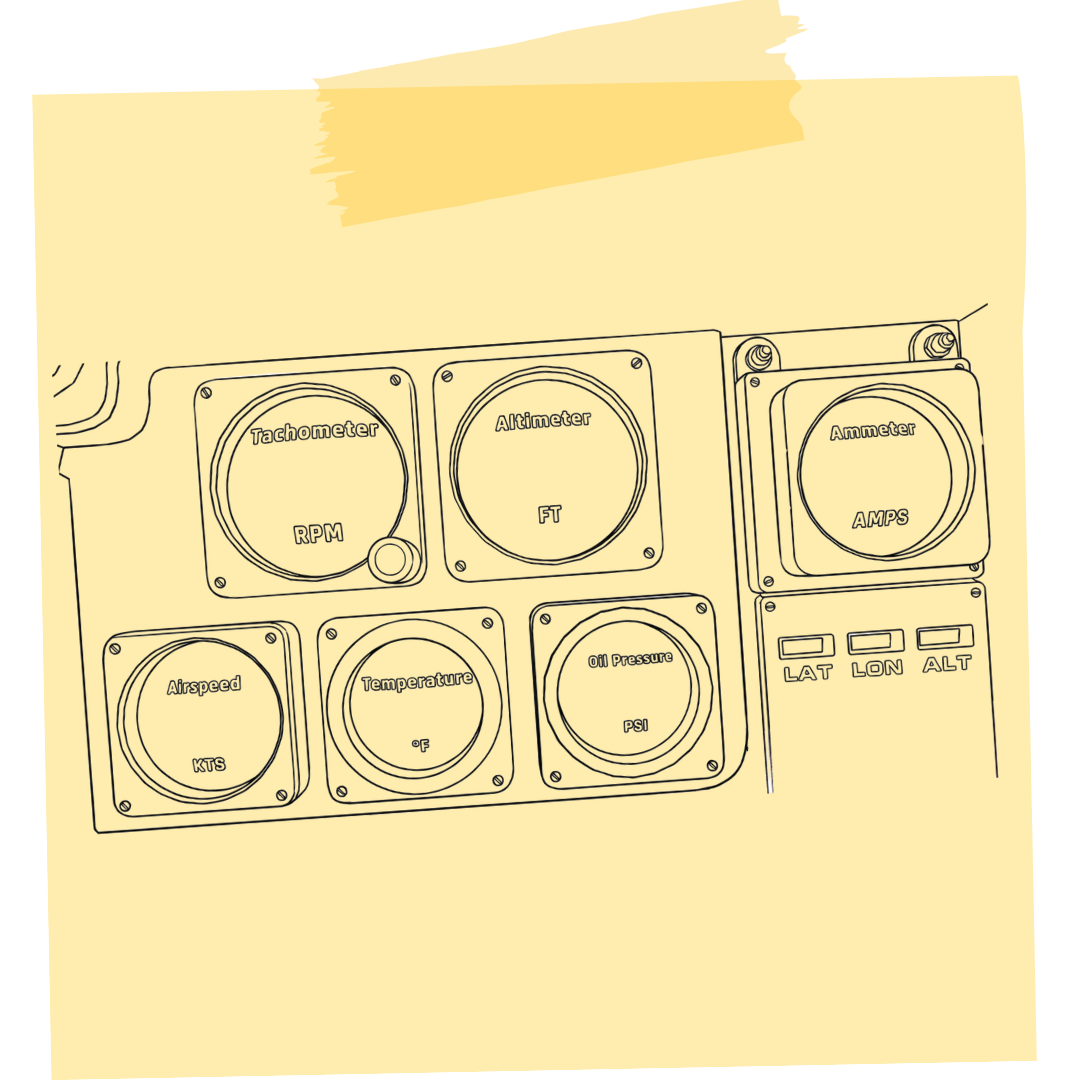
Some puzzles will ask for cockpit instrument values, so don't forget to ask the Pilot for readings like: Oil Pressure, Airspeed, Altimeter, Tachometer, Fuel, Temperature, Ammeter
There's only one strict rule: Final Stabilization Protocol (the Final Puzzle) must always be solved last. Everything else? Solve in any order you like.
Page 1 / 11
|
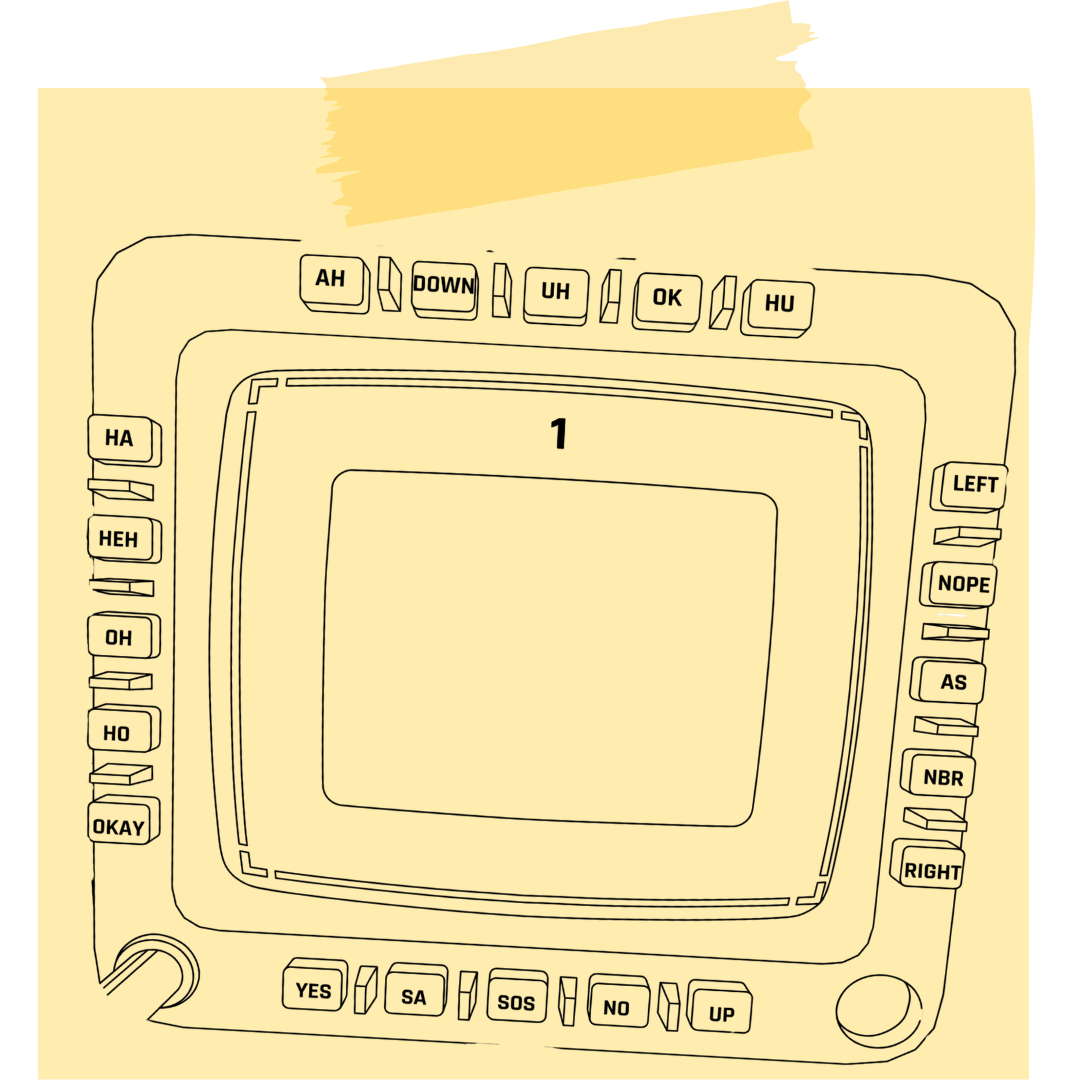
The Pilot sees four sides of a panel: Top, Right, Bottom, Left. Each side contains 5 buttons. Every button has a background color and a color name written on it.
Your task: Using the instrument values and the rules in this manual, determine which 5 colors must be pressed, and in which order.
| Check this... | YES → | NO → |
|---|---|---|
| Oil Pressure < 40? | Solve TOP side | ▼ Go to next row |
| Airspeed > 120? | Solve RIGHT side | ▼ Go to next row |
| Altimeter > 8000? | Solve BOTTOM side | If all NO → Solve LEFT |
⚠️ Rule: Always look only at the colors you haven't used yet. If a color has
been used, move to the next rule. Each color can be used only once.
The first remaining color button is the first unused color button from top to bottom in vertically arranged buttons, and from left to right in horizontally arranged buttons.
Only one color remains → Select the last remaining color button
Page 2 / 11
|
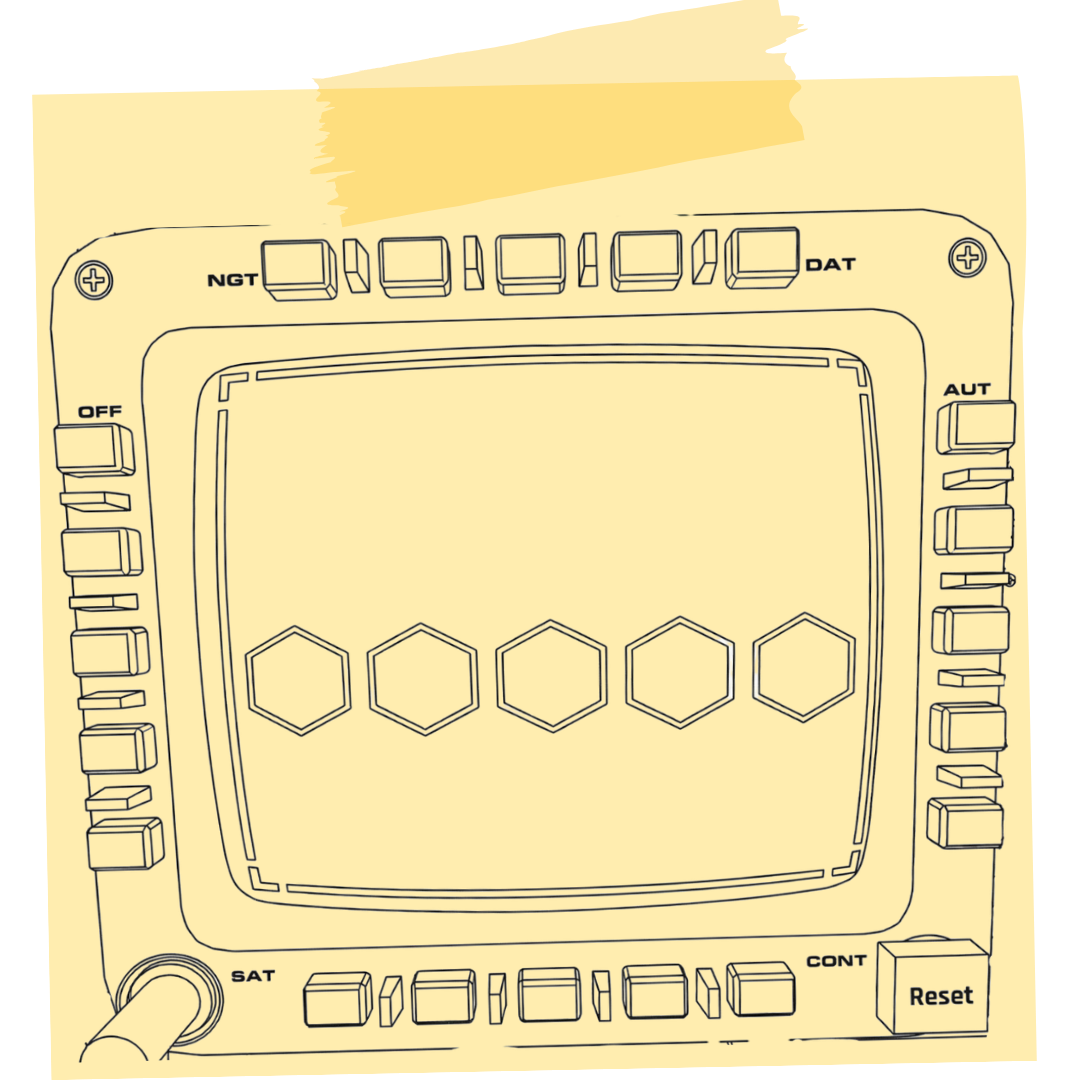
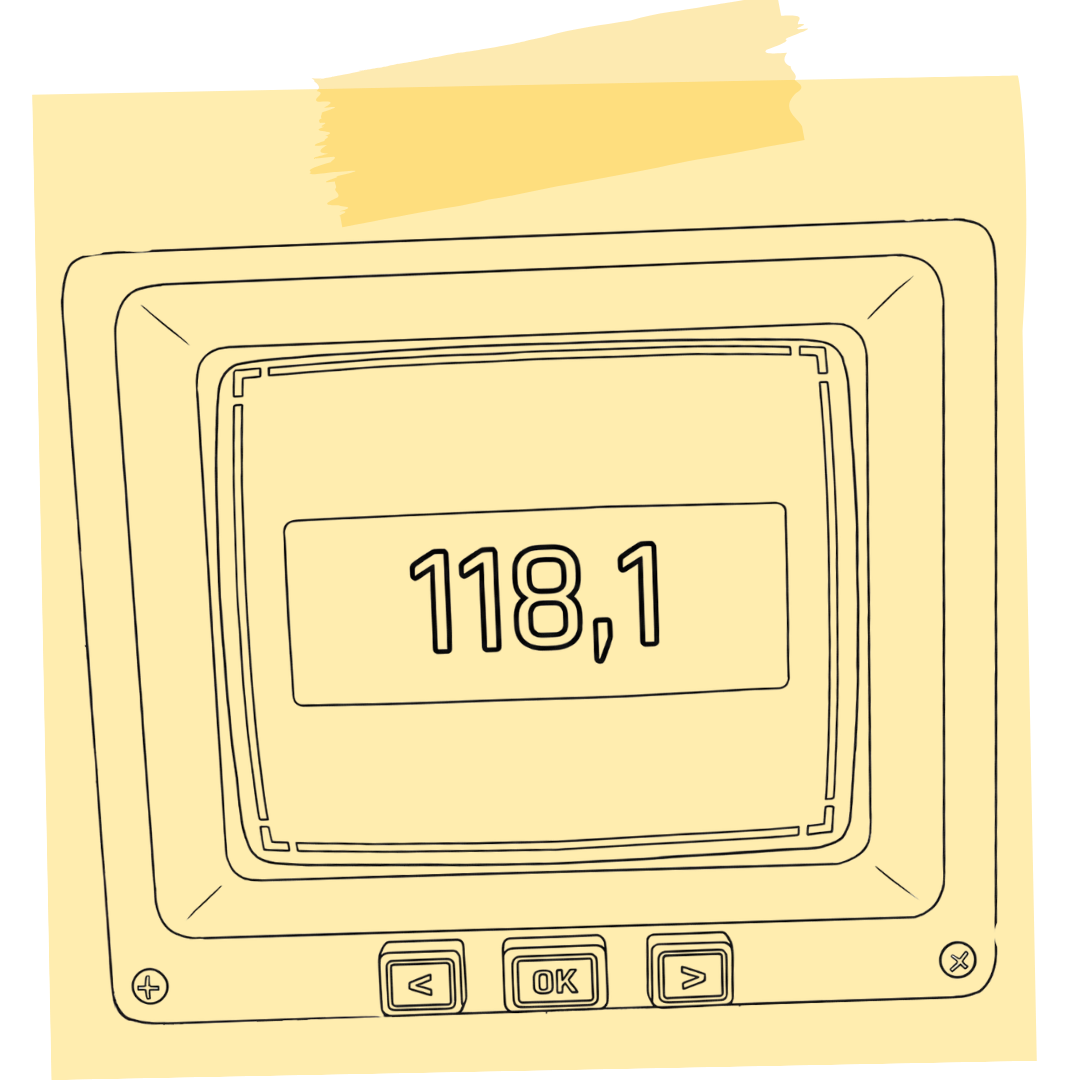
The Pilot sees an LCD screen, LEFT/RIGHT buttons, ENTER, and cockpit icons for the fire extinguisher, flare rounds, and oxygen cylinder.
Your task: Determine which frequency must be selected based on the equipment count and instrument values.
Page 3 / 11
|
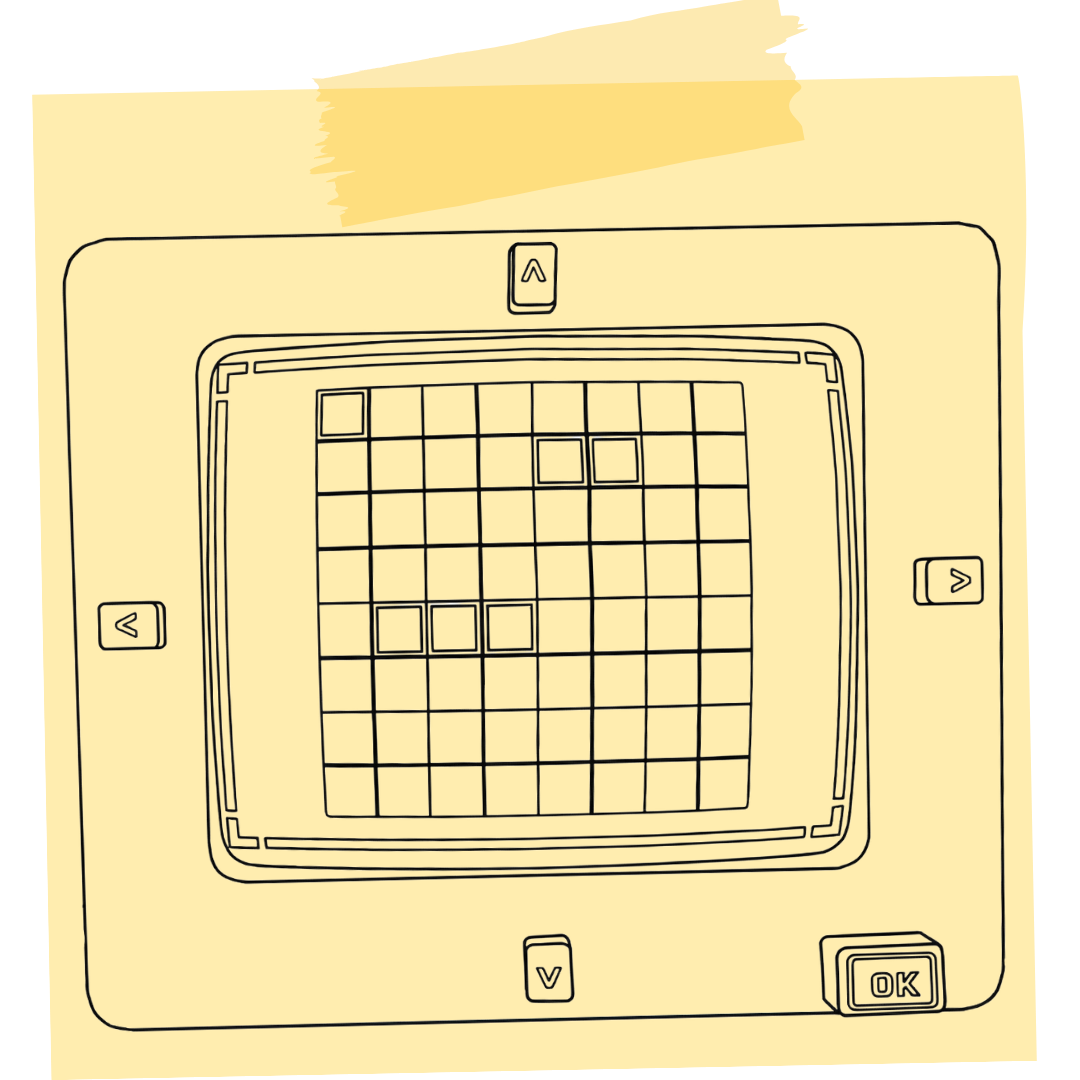
The Pilot sees an 8x8 grid with 2 hidden enemy planes and 2 bombs. The Pilot can see their own planes (1×2 and 1×3) revealed on the board.
Your task: Ask the Pilot for their plane positions, find the matching scenario table, and guide them to the enemy planes while avoiding bombs.
Green cells are the plane positions the Pilot sees. Red cells are the enemy positions the Pilot must target. Avoid the bombs!
Page 4 / 11
|
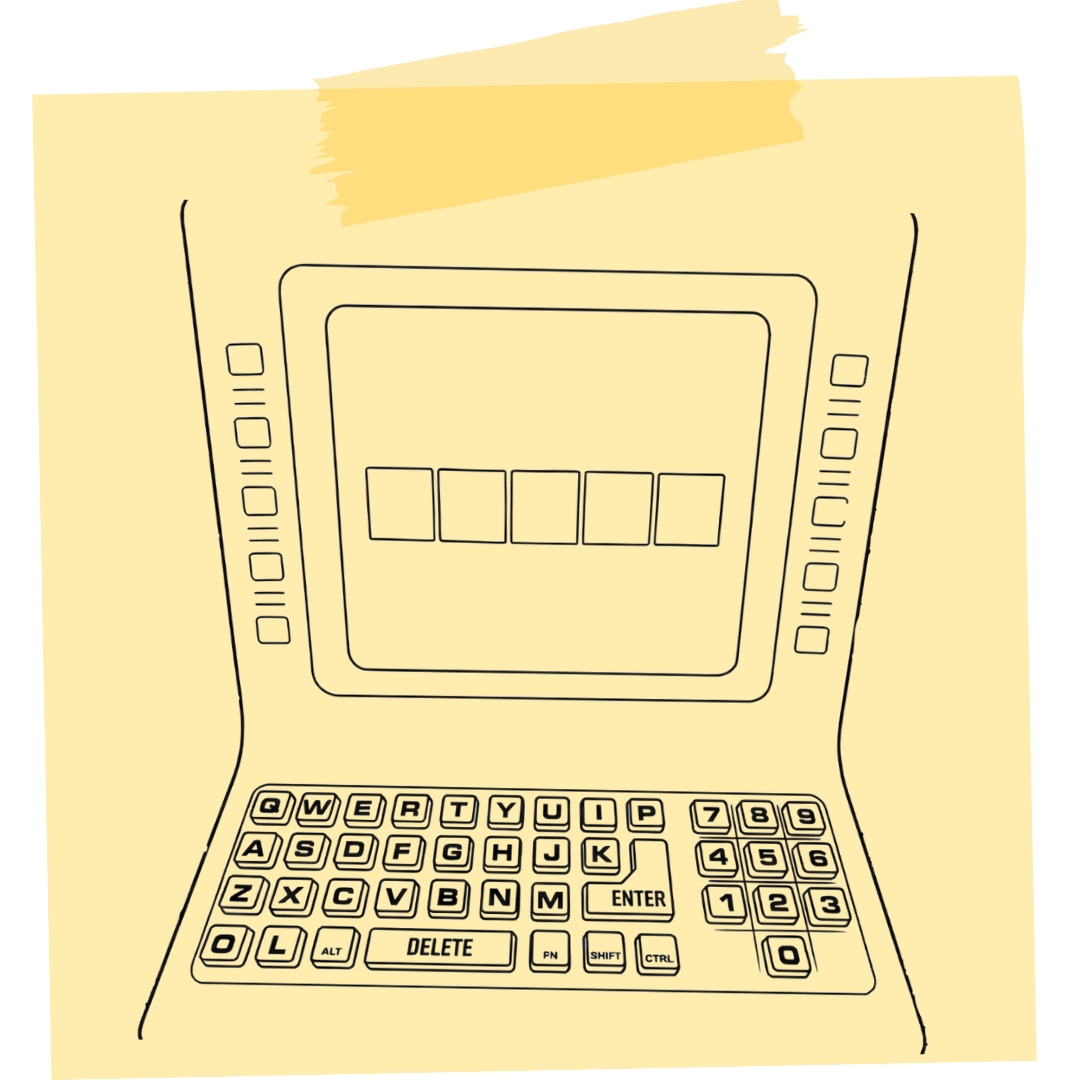
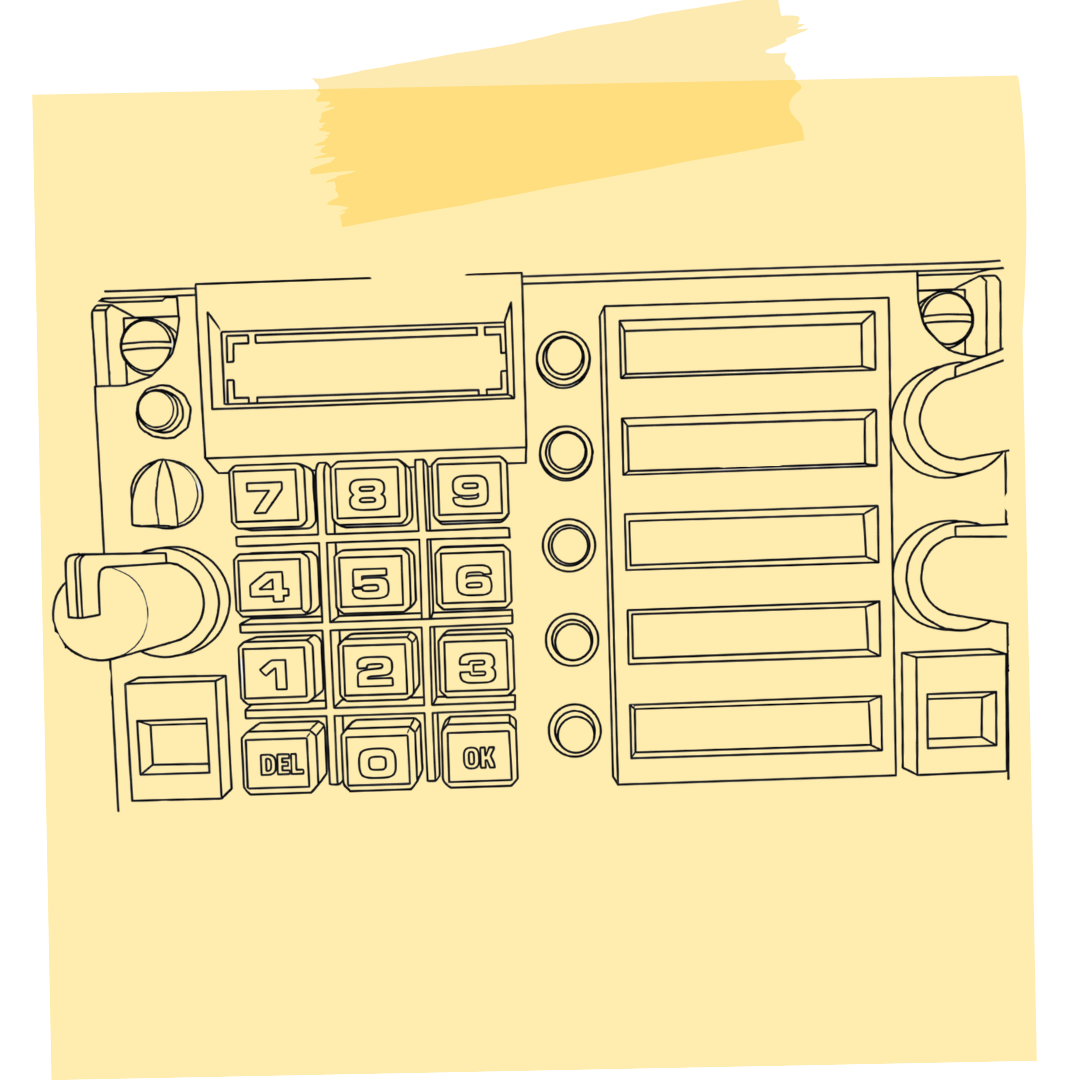
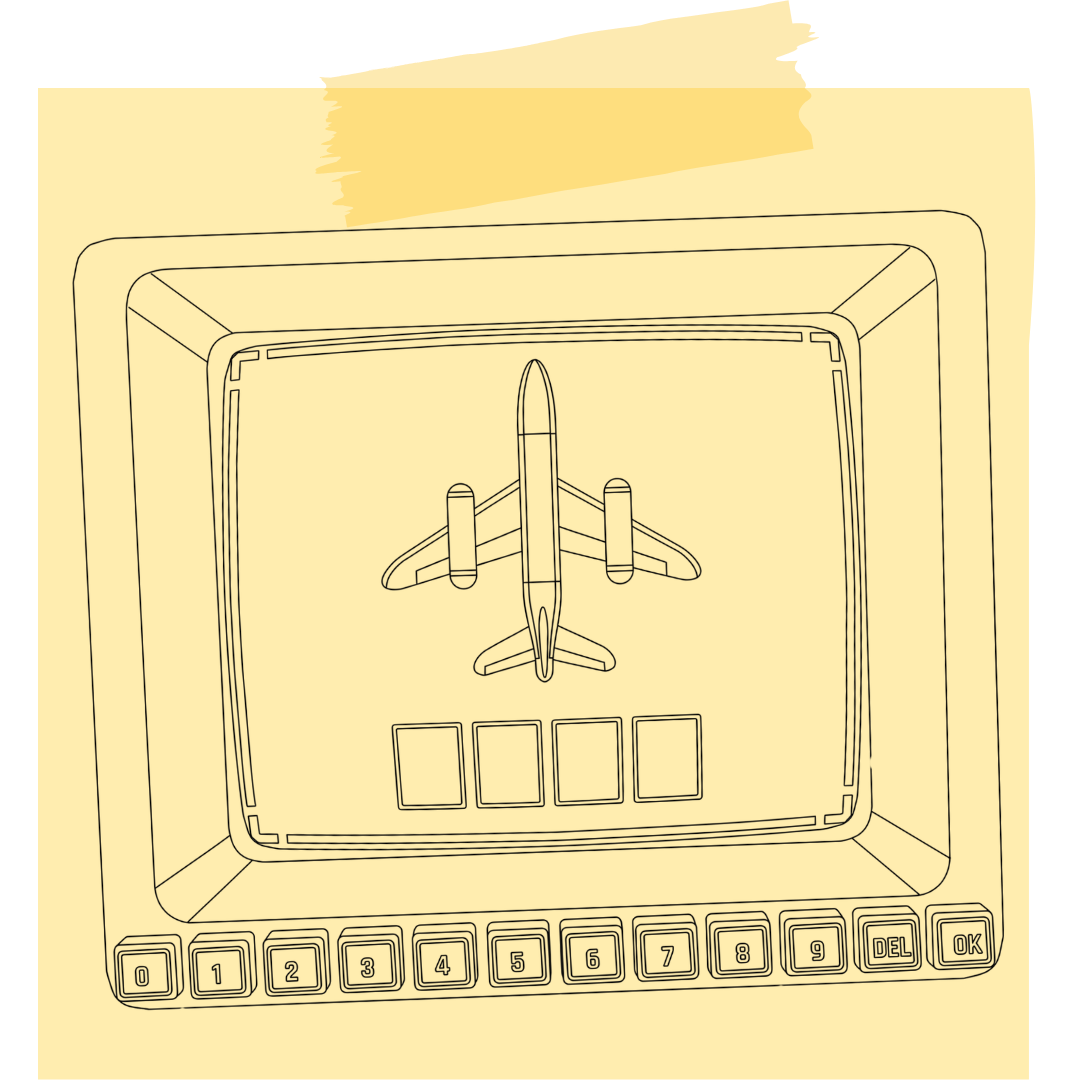
The Pilot sees a two-stage input screen: first a 5-letter word, then a 5-digit number must be entered.
Your task: Based on instrument readings, identify the correct table and guide the Pilot to enter a typeable word and number.
Ask the listed words in order. The Pilot checks the letters; the first word they can type is entered, and pressing ENTER completes the phase.
The Pilot will type a 5-letter word using the enabled letters on the keyboard.
| Table | Condition | Words (Try in Order) |
|---|---|---|
| A | Fuel > 20 AND Altimeter < 5000 | BRAKE, CLIMB, SPEED, FORCE, POWER, WINGS |
| B | Fuel ≤ 20 OR Airspeed > 150 | FLAPS, DRIFT, STALL, PITCH, RADIO, TOWER |
| C | Tachometer > 2500 | BOOST, ROTOR, MOTOR, VAPOR, CARGO, PANEL |
| D | Oil Pressure < 40 | CHECK, RESET, ALERT, FAULT, ERROR, ABORT |
| E | If none of the above | COAST, GLIDE, HOVER, LEVEL, ORBIT, FLOAT |
The Pilot will type a 5-digit number using the enabled digits on the numpad.
| Table | Condition | Numbers (Try in Order) |
|---|---|---|
| A | Altimeter > 8000 | 29920, 30120, 30450, 29780, 30010, 29850 |
| B | Airspeed > 130 | 28950, 29430, 29670, 28820, 29150, 28760 |
| C | Fuel < 15 | 27890, 28230, 27560, 28010, 27920, 27650 |
| D | Temperature > 250 | 30870, 31020, 30560, 31150, 30920, 31080 |
| E | If none of the above | 29450, 29580, 29720, 29340, 29810, 29670 |
Page 5 / 11
|
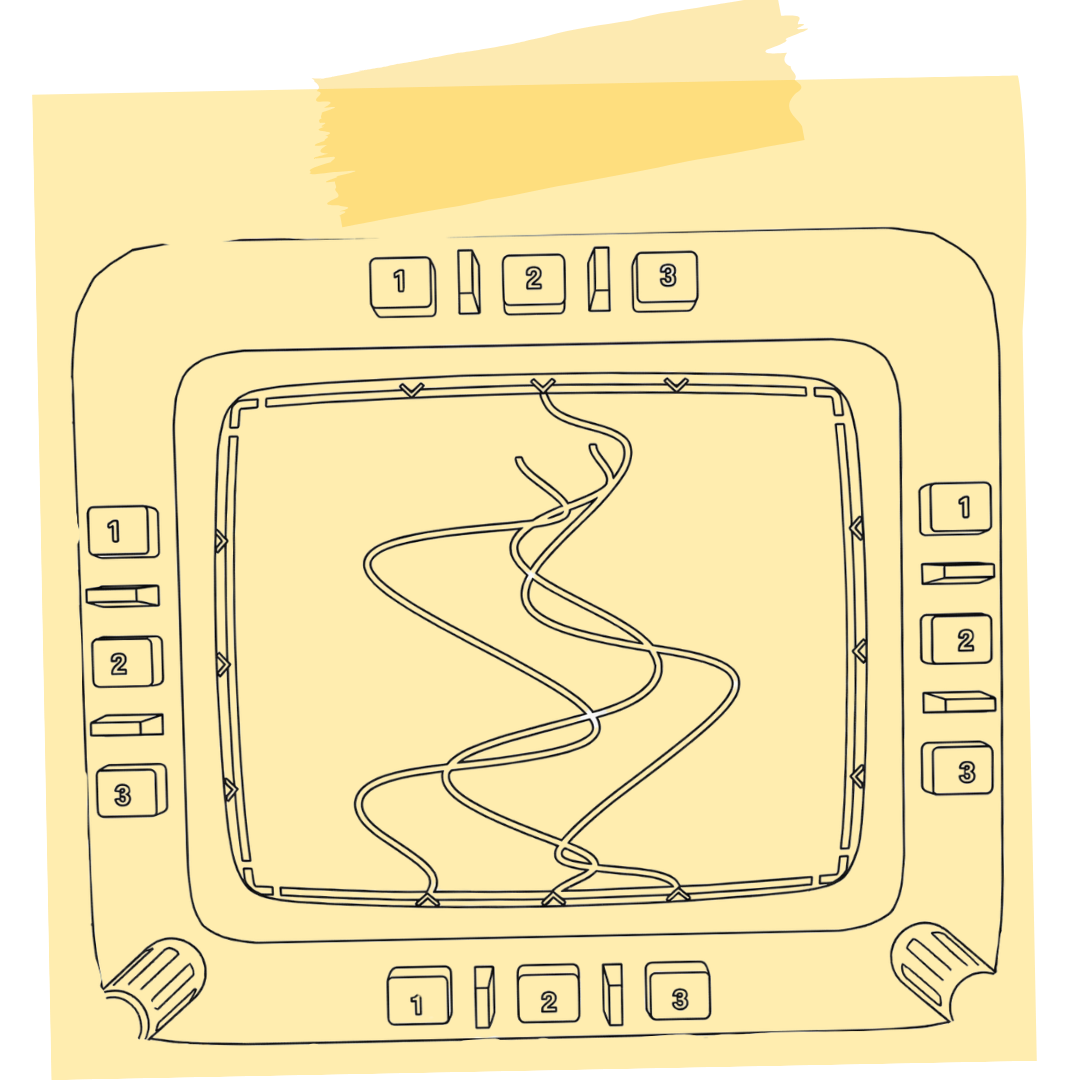
This puzzle consists of two phases. Phase 1 is done entirely by the Pilot. Phase 2 is solved with your guidance based on the Pilot's choice.
Task: Find out which number the Pilot chose in Phase 1 (1 / 2 / 3) and tell them the correct connection mappings based on that result.
The Pilot follows the correct line from button 2 at the top and selects the number it leads to. The selected number determines which table to use.
Page 6 / 11
|
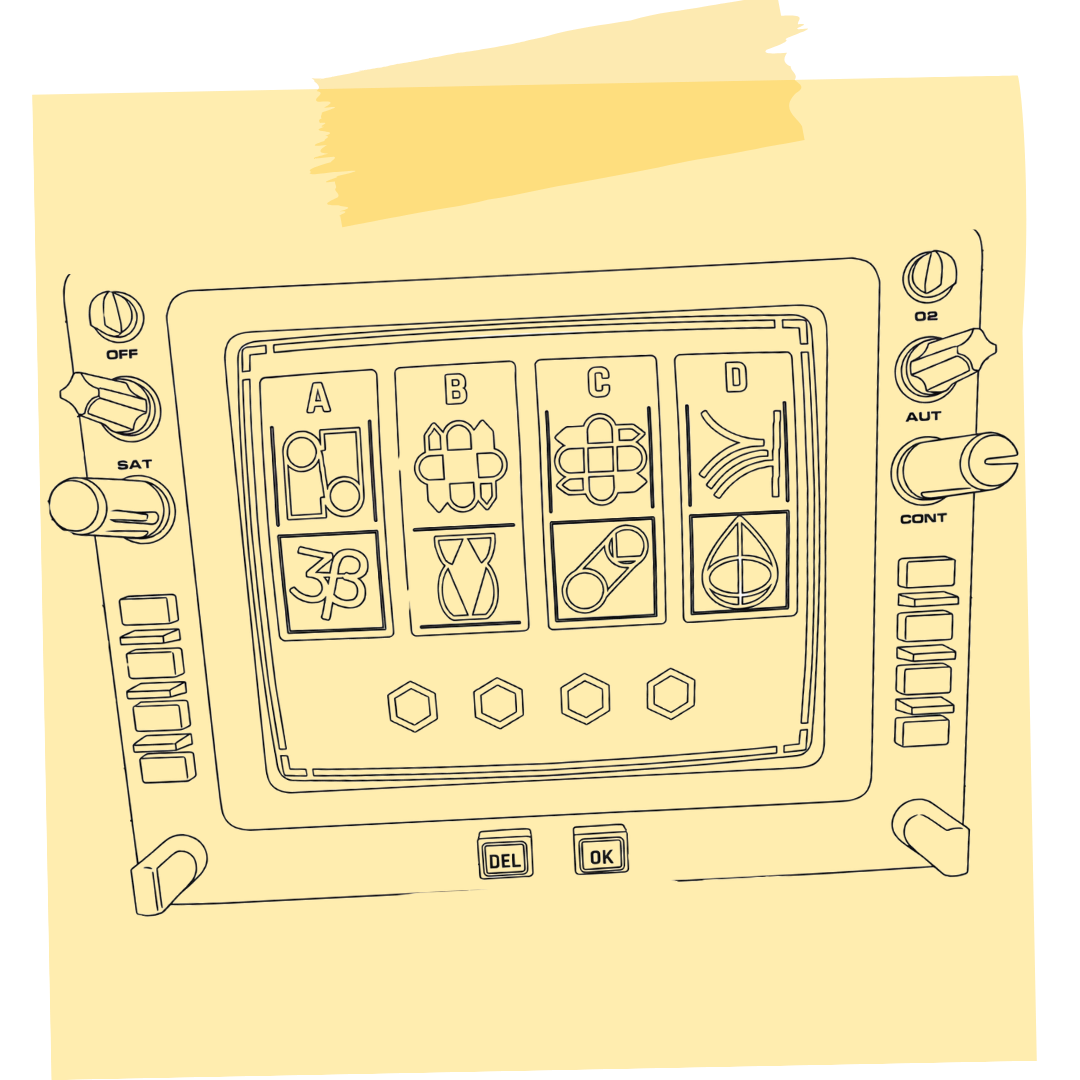
This puzzle is based on finding the correct colors using the shape collision matrix.
Task: Find the shapes the Pilot reads from each column in the table and tell the Pilot the correct color.
Page 7 / 11
|
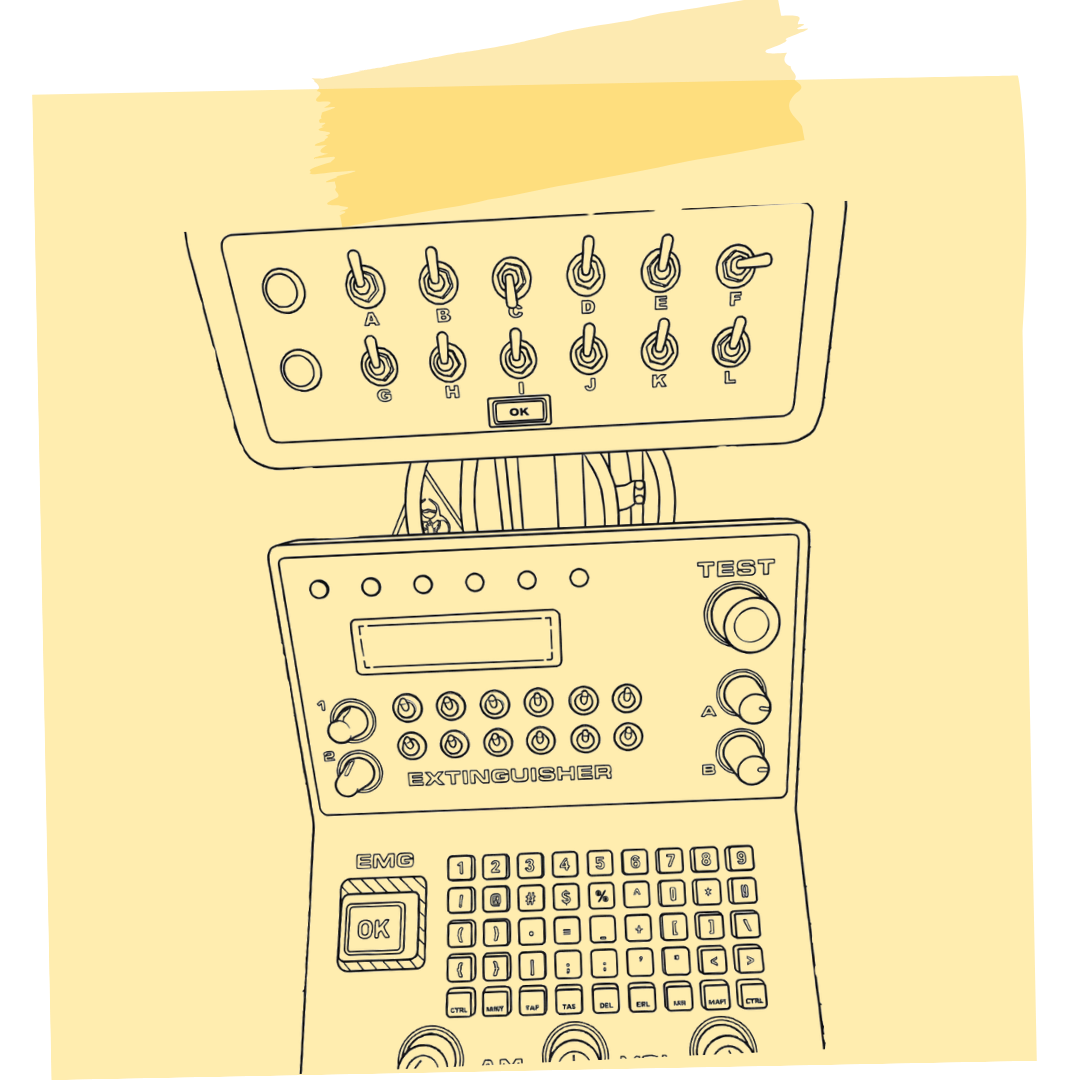
This puzzle is triggered randomly during the session. You never know when it will happen. When triggered, the light turns red and an alarm starts. The Pilot has 30 seconds to enter the correct 3-digit code.
Your task: Find the correct code the moment the Pilot reports a trigger and tell them quickly. Remember, you have 30 seconds to solve it.
Pay attention to the trigger number! For the first trigger, use Table 1. For the second trigger, use Table 2. For the third trigger, use Table 3.
Page 8 / 11
|
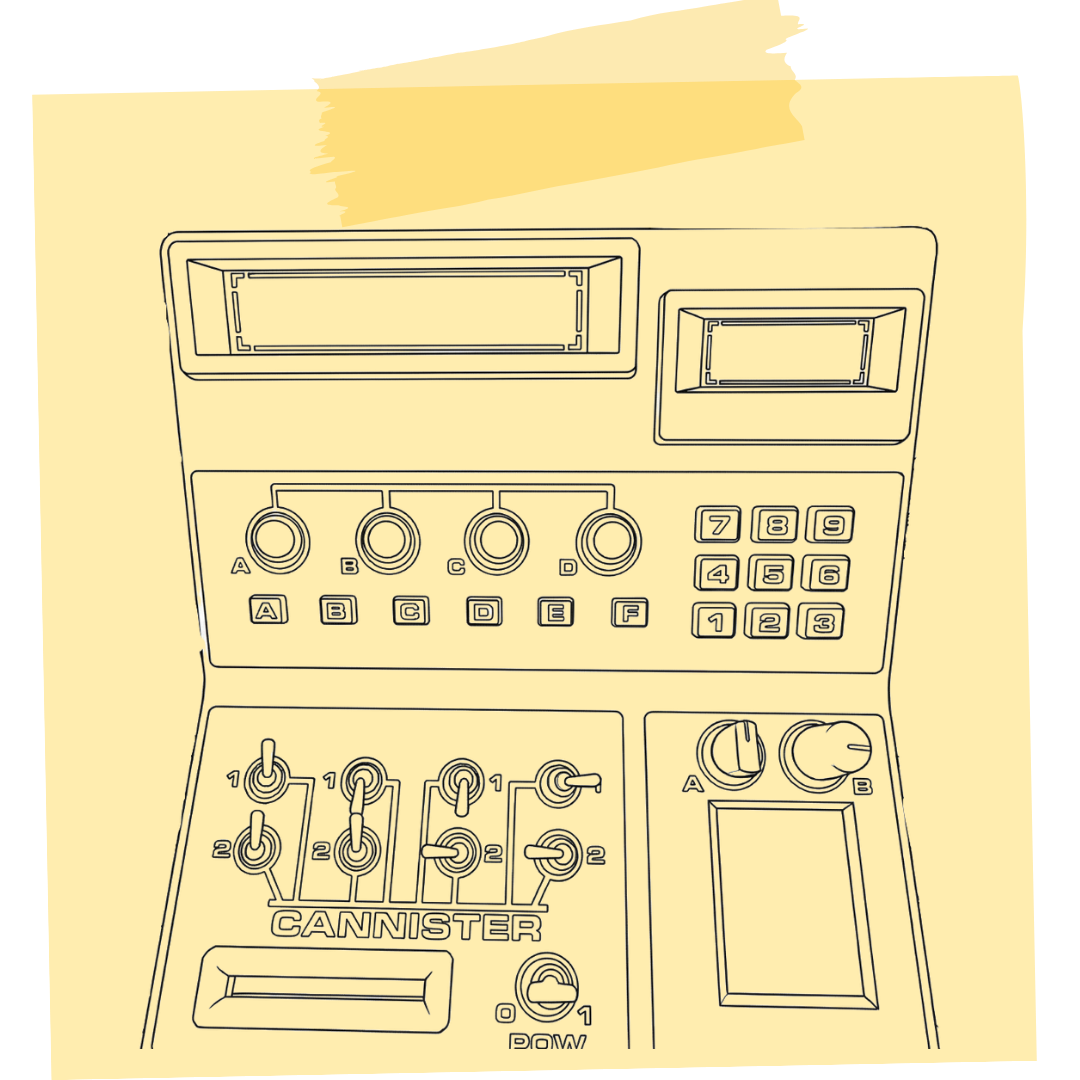
This puzzle consists of three phases that must be completed in order.
Your task: Set the switch positions based on the color the Pilot sees, solve the LED sequence, enter the correct 4 letters, and finally find the numpad code.
The Pilot sees one of these colors on the color panel: Yellow, Red, Green, or Blue. Tell the Pilot the switch positions from the matching column.
| Switch | Yellow | Red | Green | Blue |
|---|---|---|---|---|
| 1 | Up | Down | Left | Right |
| 2 | Down | Right | Up | Left |
| 3 | Left | Up | Right | Down |
| 4 | Up | Left | Down | Right |
| 5 | Right | Down | Up | Left |
| 6 | Down | Up | Left | Up |
| 7 | Left | Right | Down | Up |
| 8 | Right | Left | Right | Down |
LED buttons light up in sequence. The Pilot tells you the order. Tell the Pilot the correct letters based on the sequence.
The Pilot sees one of these numbers. Enter the corresponding code.
Page 9 / 11
|
This puzzle has two phases.
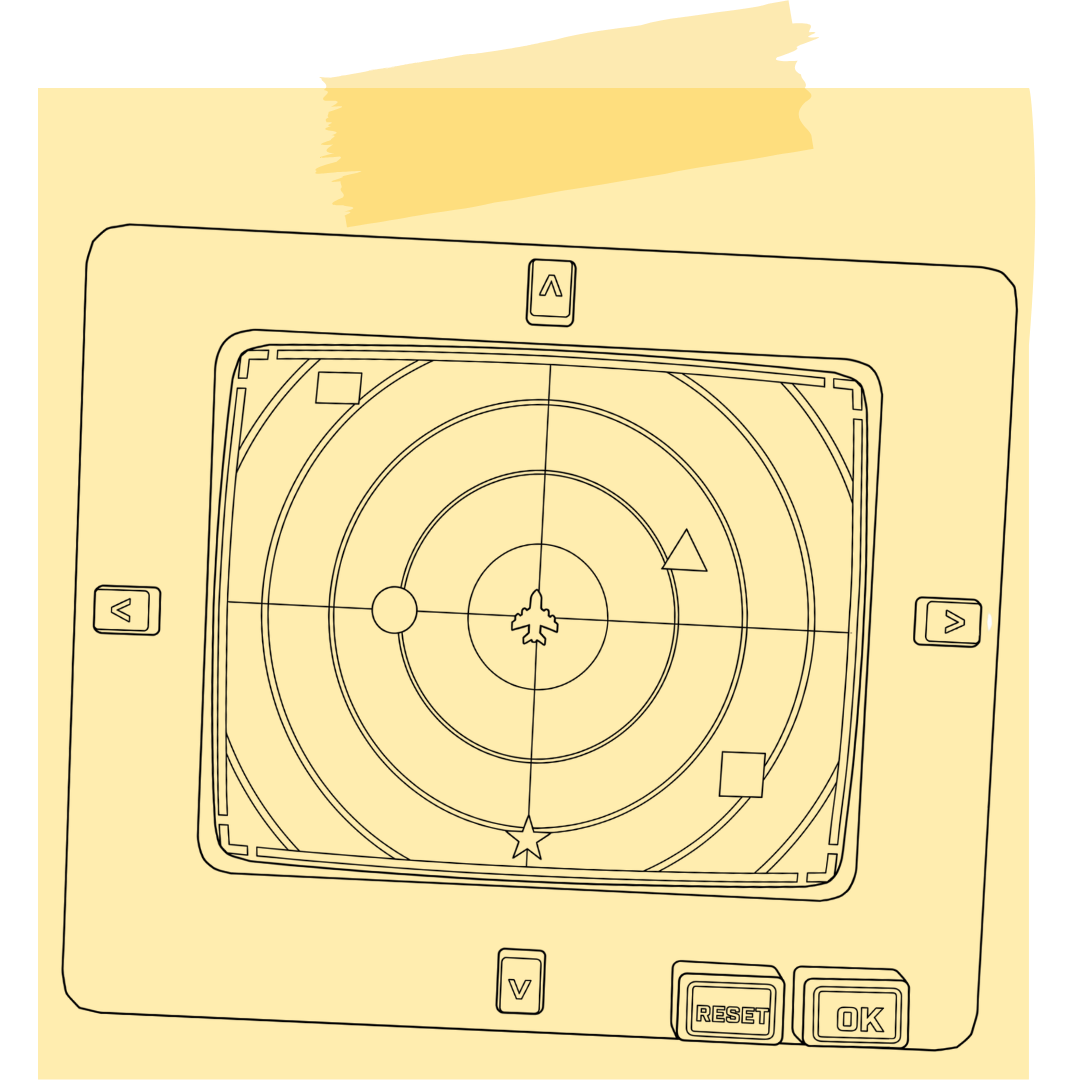
Task: Determine the correct lower switch positions based on the upper ones, then based on the number of green lights, find the correct instrument range and tell the Pilot the 4 direction buttons and 3 keyboard keys.
The Pilot sees 6 switches on top and 6 on bottom. Based on the upper switch positions, set the 6 lower switches to the correct positions. Switches are read left to right.
Ask how many red lights are on next to the switches. If 2 red → TABLE A | 1 red → TABLE B | 0 red → TABLE C
| How
many times direction seen? |
Table A (2 Red) | Table B (1 Red) | Table C (0 Red) | |||||||||
|---|---|---|---|---|---|---|---|---|---|---|---|---|
| Upper switch positions | Upper switch positions | Upper switch positions | ||||||||||
| Up | Down | Left | Right | Up | Down | Left | Right | Up | Down | Left | Right | |
|
If direction seen 1st time |
Down | Up | Right | Left | Left | Right | Down | Up | Right | Left | Up | Down |
|
If direction seen 2nd time |
Right | Left | Up | Down | Up | Down | Left | Right | Down | Up | Right | Left |
|
If direction seen 3rd time |
Left | Right | Down | Up | Down | Up | Right | Left | Up | Down | Left | Right |
|
If direction seen 4th time |
Up | Down | Left | Right | Right | Left | Up | Down | Left | Right | Down | Up |
|
If direction seen 5th time |
Down | Up | Right | Left | Left | Right | Down | Up | Right | Left | Up | Down |
|
If direction seen 6th time |
Right | Left | Up | Down | Up | Down | Left | Right | Down | Up | Right | Left |
When all directions are entered correctly, the green lights will turn on.
If 0–2 green lights → Temperature | 3–4 green lights → Fuel | 5–6 green lights → Tachometer value.
Page 10 / 11
|
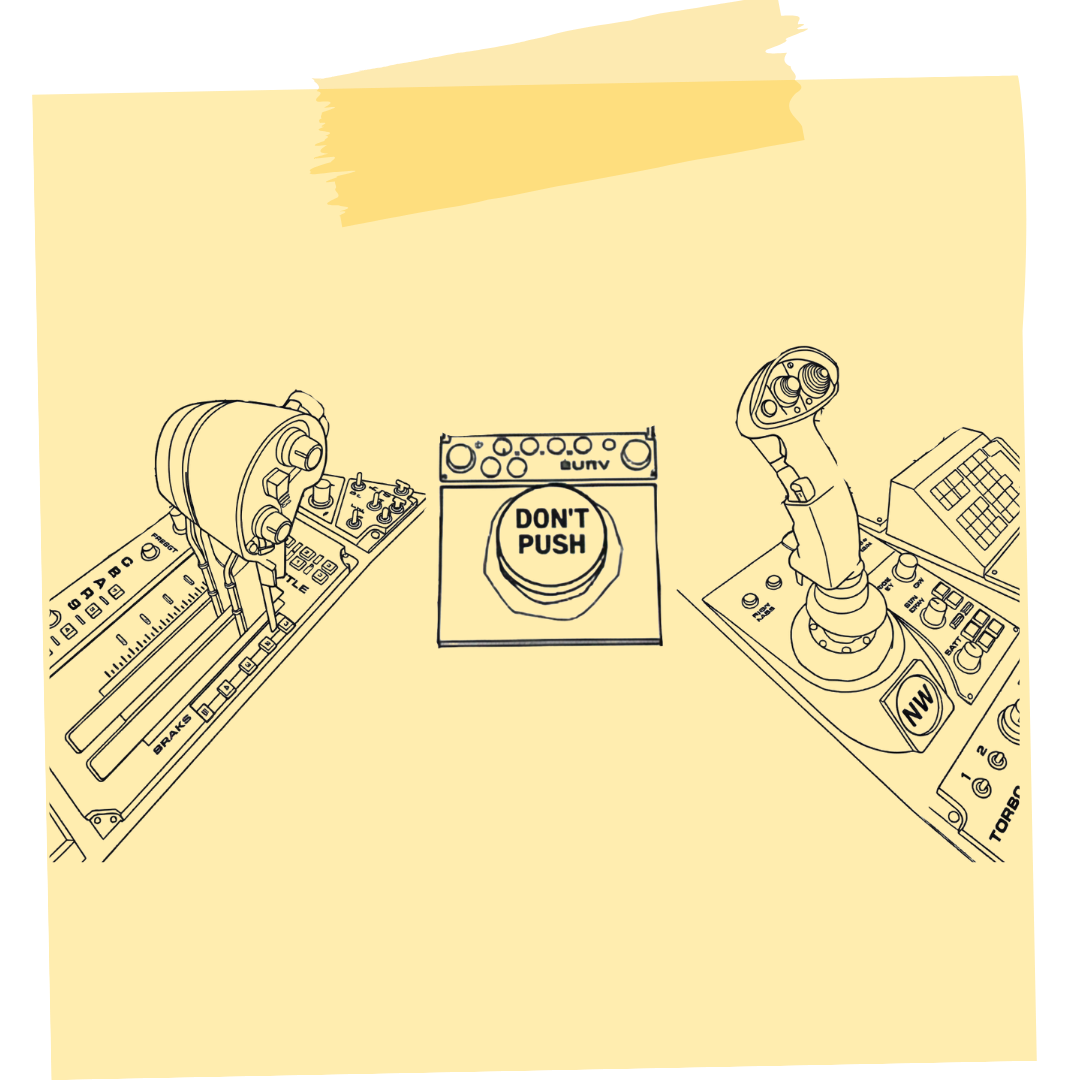
This puzzle is the final step of the session. It does not activate until all other puzzles are solved.
Your task: Based on the remaining time, determine the correct left lever position and the correct right joystick direction.
After setting the levers, instruct the Pilot to press the large PUSH button in the center to complete the sequence.
| Remaining Time | Left Lever | Right Lever (Joystick) |
|---|---|---|
| 0:00 - 0:30 | Position 1 | South (S) |
| 0:31 - 1:00 | Position 2 | South West (SW) |
| 1:01 - 1:30 | Position 2 | South East (SE) |
| 1:31 - 2:00 | Position 3 | West (W) |
| 2:01 - 2:30 | Position 3 | East (E) |
| 2:31 - 3:00 | Position 3 | North (N) |
| 3:01 - 3:30 | Position 4 | North West (NW) |
| 3:31 - 4:00 | Position 4 | North East (NE) |
| 4:01 - 4:30 | Position 5 | North (N) |
| 4:30+ | Position 5 | North East (NE) |
Page 11 / 11